Requirements
Installation
New features
Legal notice
Import objects from other Heliodon models [back]
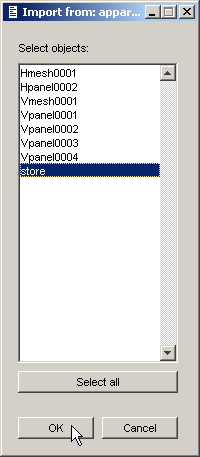
You may import objects from another Heliodon model. Click on the import button and select an Heliodon model.

Choose one or more objects you want to import (use CTRL key).
The imported objects are added to the current scene.
Virtual/real sensors [back]
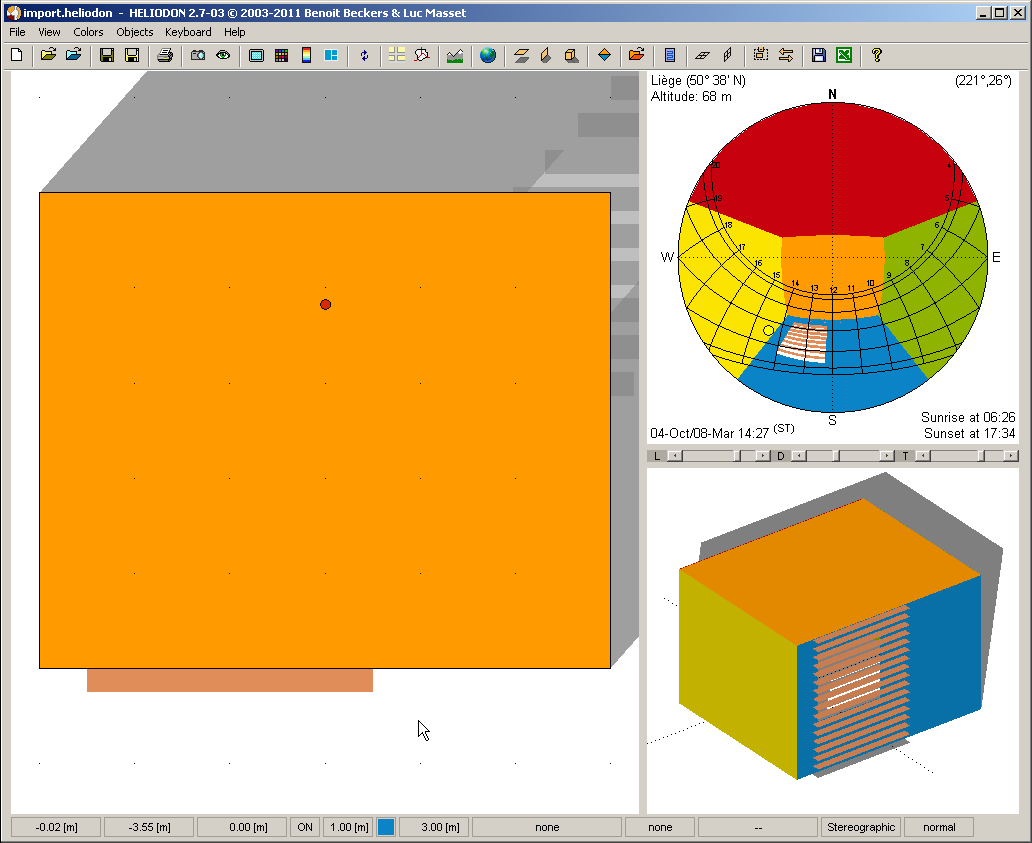
Move the view point to the desired location and press "v" key to create a sensor. The sensor is marked with a small cross in the 2D view. You may create as many sensors as you wish. Use "V" key to delete them (in the reverse creation order). Double-click on a sensor moves the view point back to that location. The sensors are located at the same altitude as the view point. If you change the view point altitude, you change the altitude of all the sensors.

Sensors may be virtual sensors (the received solar energy is independant of the direction of the sun rays) or real sensors. In this last case, the sensor is a surface thus the received energy depends on the ray inclination on the surface (a cosine law). For real sensors, the surface is supposed to be horizontal (as a pyranometer held in hand).

For sunlight duration, there is no difference between real and virtual sensors. There is only a difference for received energy/flux, the energy being always lower for real sensors (left) than for virtual ones (right). Note that the difference between real and virtual sensors is stated in the figure title ("w/normal" is for real sensors and "wo/normal" is for virtual ones).

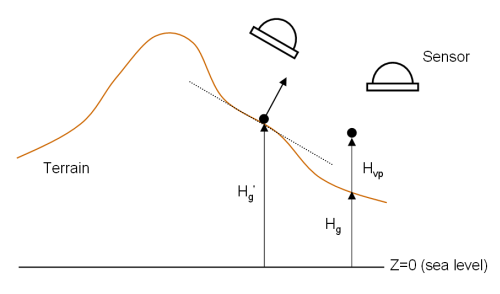
In case the scene includes a terrain model, the sensors are located at an altitude above terrain, i.e. the altitude of the ground at this location plus the altitude of the sensors (the distance between the ground and the sensors).

If the altitude of the sensors are set to zero, there are supposed to lie on the ground. In this case, for real sensors only, the sensor orientation is the orientation of the terrain (on the left below). Otherwise there are supposed to be horizontal as usual.
Project horizontal meshes on terrain [back]
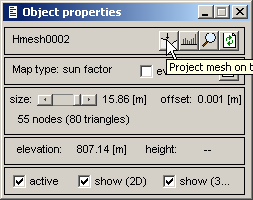
In the properties dialog box, you may now project an horizontal mesh on the terrain.
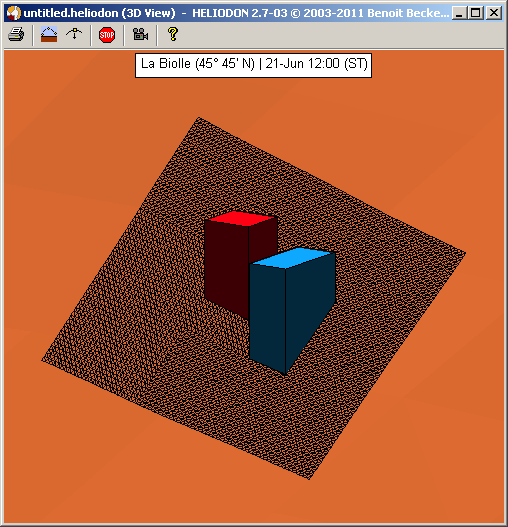
The example below illustrates a terrain model and two buildings (prismatic objects) placed on the ground. A few meshes are placed around the buildings and projected on the ground.
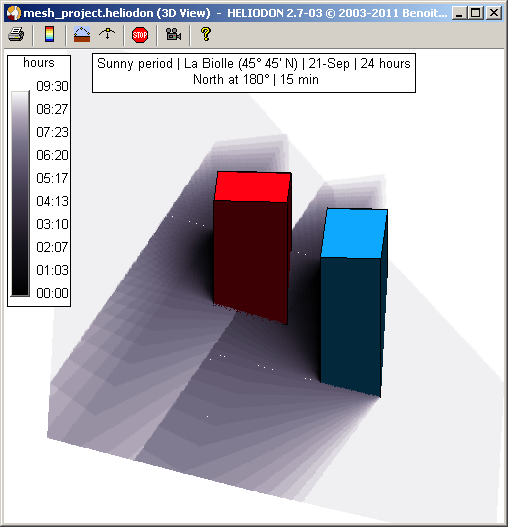
The cumulated shadows for Autumn equinox are drawn below.
Remark: mesh projection is only available as a beta feature; you may obtain erroneous results or strange graphic behavior.
Heliodon uses several external software freely available on the web. We would like to aknowledge their excellent codes that work perfectly inside Heliodon. Here is the list of these codes and their reference.